Follow Me On Social Media!


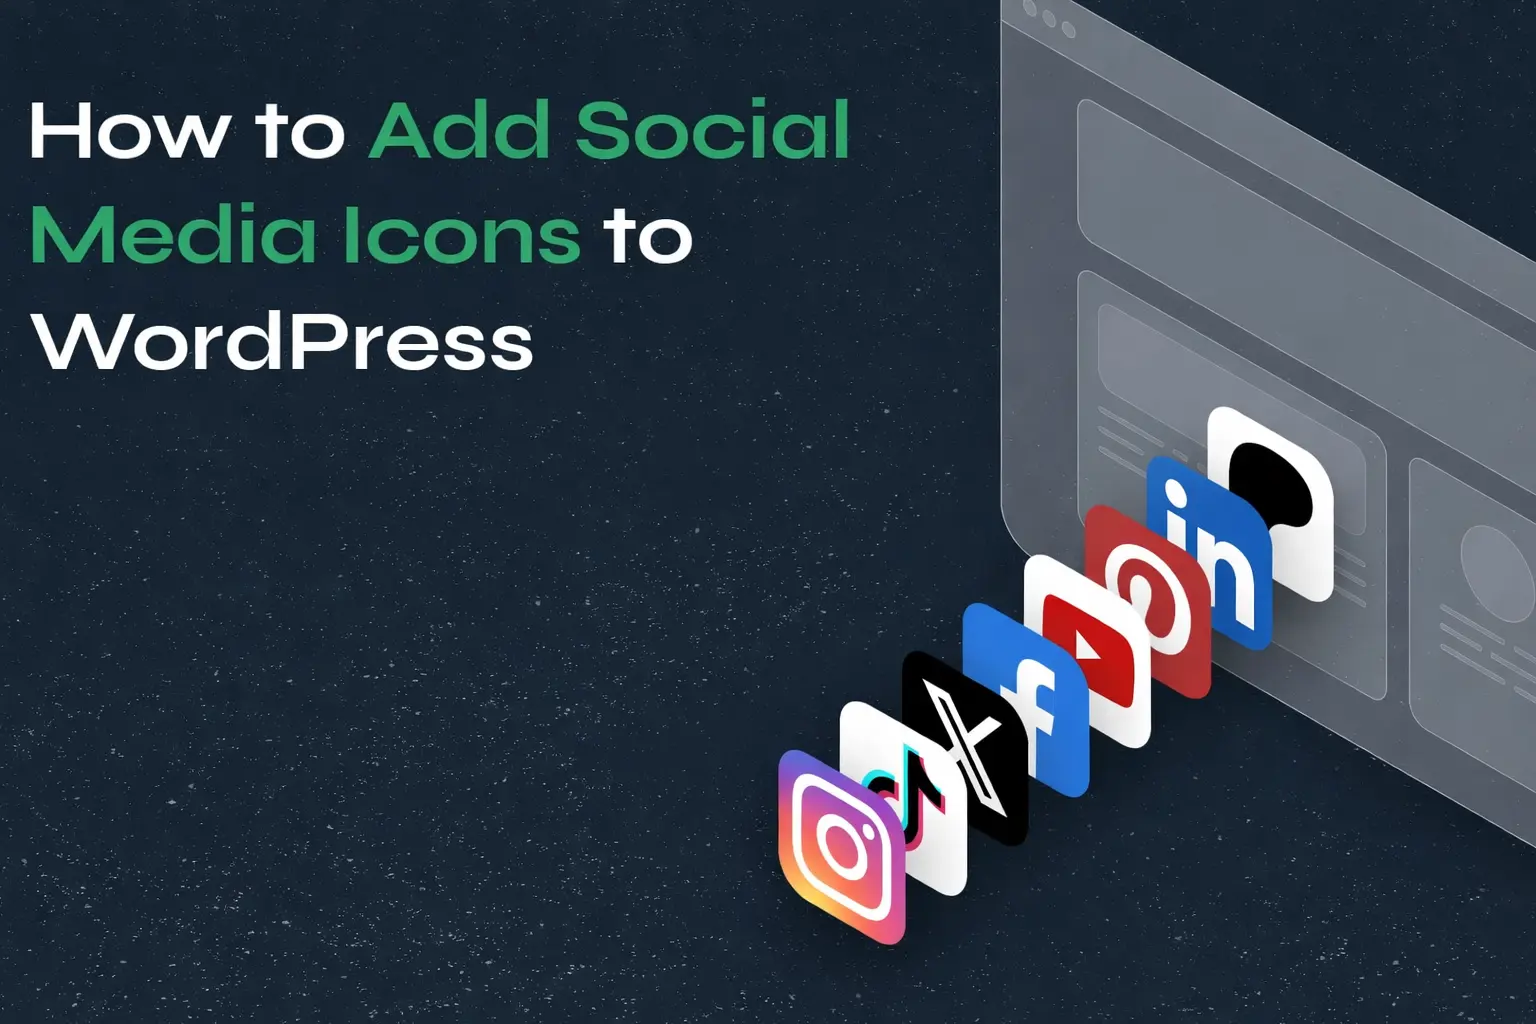
Social media plays an important role in growing a website. Whether you run a blog, a business website, or an online store, adding social media icons helps visitors quickly find and follow your profiles.
These icons usually appear in areas like the website header, footer, sidebar, or inside blog posts. When visitors click them, they are redirected to your social media pages such as Facebook, Instagram, or X (Twitter).
The good news is that WordPress makes this process simple. You don’t need advanced coding skills to add social icons to your site. There are several easy ways to do it depending on how much customization you want.
In this guide, we’ll explore the most common methods for adding social media icons to WordPress.
Table of Contents
Why Social Media Icons Are Important
Before we look at the technical steps, it’s helpful to understand why social icons matter for your website.
Social media icons allow visitors to connect with you on different platforms and increase engagement with your content. When readers follow your profiles, they can discover new articles, updates, or promotions more easily.
Benefits include:
- Growing your social media audience
- Increasing website traffic from social platforms
- Building trust with visitors
- Encouraging content sharing
Adding these icons is a small design change that can have a big impact on how users interact with your website.
Methods to Add Social Media Icons to WordPress
There are three main ways to display social media icons on your WordPress website.
| Method | Difficulty | Best For |
|---|---|---|
| Using a plugin | Easy | Beginners |
| Using WordPress Social Icons block | Medium | Block theme users |
| Adding custom icons manually | Advanced | Full design control |
Each method has its own advantages depending on your website setup.
Method 1: Add Social Media Icons Using a Plugin
The easiest way to add social icons to WordPress is by installing a plugin. Plugins are small tools that add extra features to your website without requiring coding.
One commonly used option is the Social Media Icons plugin, which allows you to display social icons in different parts of your website.
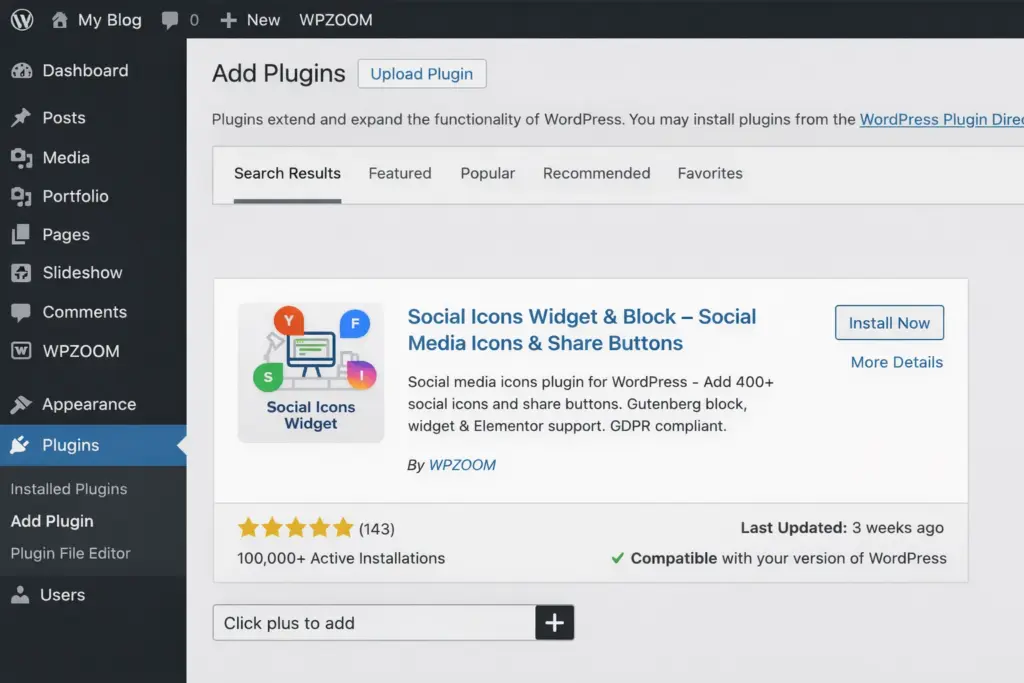
Step 1: Install the Plugin
Follow these steps in your WordPress dashboard:
- Go to Plugins → Add New
- Search for Social Icons
- Click Install
- Activate the plugin
Once activated, the plugin will add new social icon options to your WordPress widgets and editor.
Step 2: Add Social Icons to Your Website
After installation, you can place icons in different sections of your website.
Examples include:
- Sidebar widgets
- Footer sections
- Homepage blocks
- Blog posts and pages
Simply choose where you want the icons to appear and insert the social icon block or widget.
Step 3: Customize the Icons
Most plugins allow you to customize the appearance of your icons.
You can usually change:
- Icon style (circle, square, etc.)
- Colors
- Size
- Spacing
- Alignment
When you add a social link, the plugin automatically selects the correct icon for that platform.
Example social icon structure:
<a href="https://facebook.com/yourpage">
<i class="icon-facebook"></i>
</a>
This makes the process quick and beginner-friendly.
Method 2: Use the WordPress Social Icons Block
If your website uses a modern block theme, you can add social icons without installing a plugin.
WordPress includes a built-in Social Icons block that works directly in the block editor.
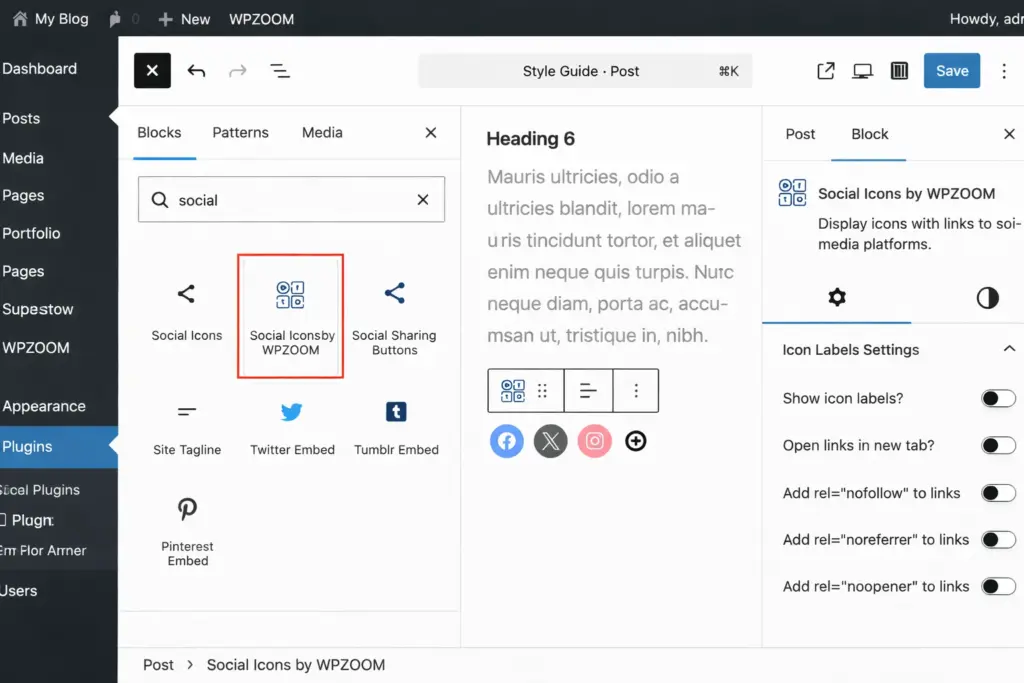
Steps to Add the Social Icons Block
- Open a page or post in the editor
- Click the + button to add a new block
- Search for Social Icons
- Select the block and insert it into your page
- Add links to your social media profiles
Once added, you can customize the icon style, colors, and layout directly in the editor.
This method is ideal for users who want a lightweight solution without additional plugins.
Method 3: Add Custom Social Media Icons
Some website owners prefer using custom icons to match their brand design. In this case, you can manually upload icon images and link them to your social profiles.
Step 1: Prepare Your Icons
Download or design social media icons in formats like:
- PNG
- SVG
Make sure they are high quality and consistent in size.
Step 2: Upload Icons to WordPress
Go to:
Media → Add New
Upload your icon files to the WordPress media library.
Step 3: Add Icons to Your Pages
You can insert icons into your pages using the Image block.
Example HTML code:
<a href="https://instagram.com/yourprofile">
<img src="instagram-icon.png" alt="Instagram">
</a>
This method gives you full control over the icon design and placement.
Where to Place Social Media Icons
Choosing the right location for your icons can improve visibility and engagement.
Common placement areas include:
| Location | Purpose |
|---|---|
| Header | Visible on every page |
| Footer | Common place for social links |
| Sidebar | Great for blogs |
| Blog posts | Encourages content sharing |
The best option depends on your website layout and design.
Tips for Better Social Media Integration
Adding icons is just the first step. To maximize their impact, consider the following tips:
Keep the Design Consistent
Use icon styles that match your website colors and layout.
Limit the Number of Platforms
Adding too many icons can clutter your design. Focus on the platforms where you are most active.
Make Icons Easy to Find
Place them in areas where visitors naturally look, such as the header or footer.
Final Thoughts
Adding social media icons to WordPress is a simple way to strengthen the connection between your website and your social platforms.
You can choose the method that works best for your needs:
- Use a plugin for the easiest setup
- Use the WordPress Social Icons block for a built-in solution
- Add custom icons for complete design control
No matter which method you choose, social icons help increase engagement and make it easier for visitors to follow your content across multiple platforms.