Follow Me On Social Media!


When you first log into WordPress, the admin dashboard can feel overwhelming.
There are menus everywhere, settings you don’t understand, and dozens of options you’re afraid to touch. Many beginners open the dashboard, click around for a few minutes, and then close it because it feels confusing.
Here’s the truth: WordPress looks complicated at first, but most of the dashboard is actually very simple once you understand the basics.
The admin area is simply your website’s control panel. From there you can create posts, upload images, install plugins, manage users, and control your website’s design.
In this beginner-friendly guide, you’ll learn:
- How to access the WordPress dashboard
- What each menu in the dashboard does
- Which sections matter the most when starting a website
- How to manage posts, pages, plugins, and settings
By the end of this guide, you’ll know exactly where to click and how to start managing your website with confidence.
Table of Contents
How to Access the WordPress Admin Dashboard
Before you can manage your website, you first need to log in to the WordPress admin area.
If you are using self-hosted WordPress (WordPress.org), the dashboard is located at a specific login URL on your website.
Simply open your browser and visit:
yourdomain.com/wp-admin
or
yourdomain.com/wp-login.php
This will take you to the WordPress login page.
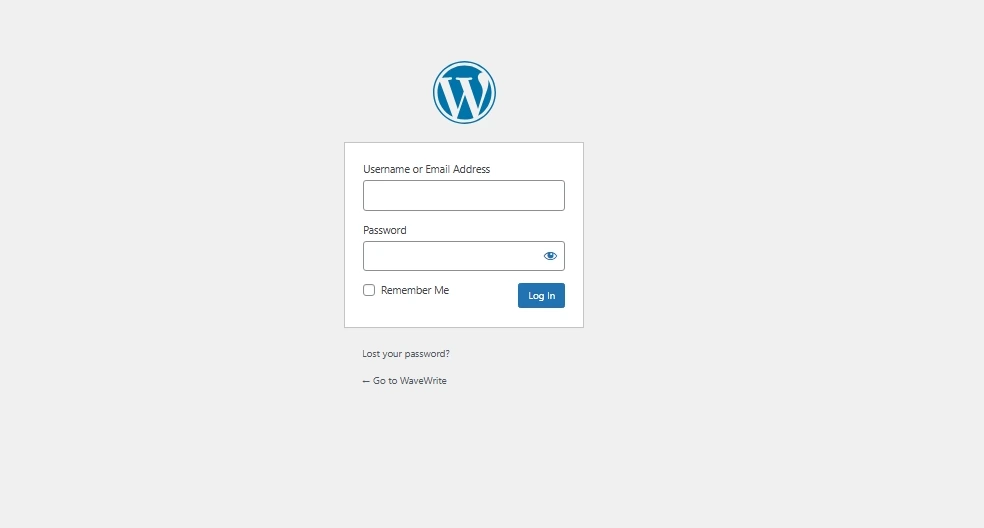
Here you need to enter:
- your username
- your password
Once you log in successfully, you’ll be taken directly to the WordPress dashboard.
If your hosting provider offers managed WordPress hosting (like Bluehost, SiteGround, or Hostinger), you may also find a “Login to WordPress” button inside your hosting control panel.
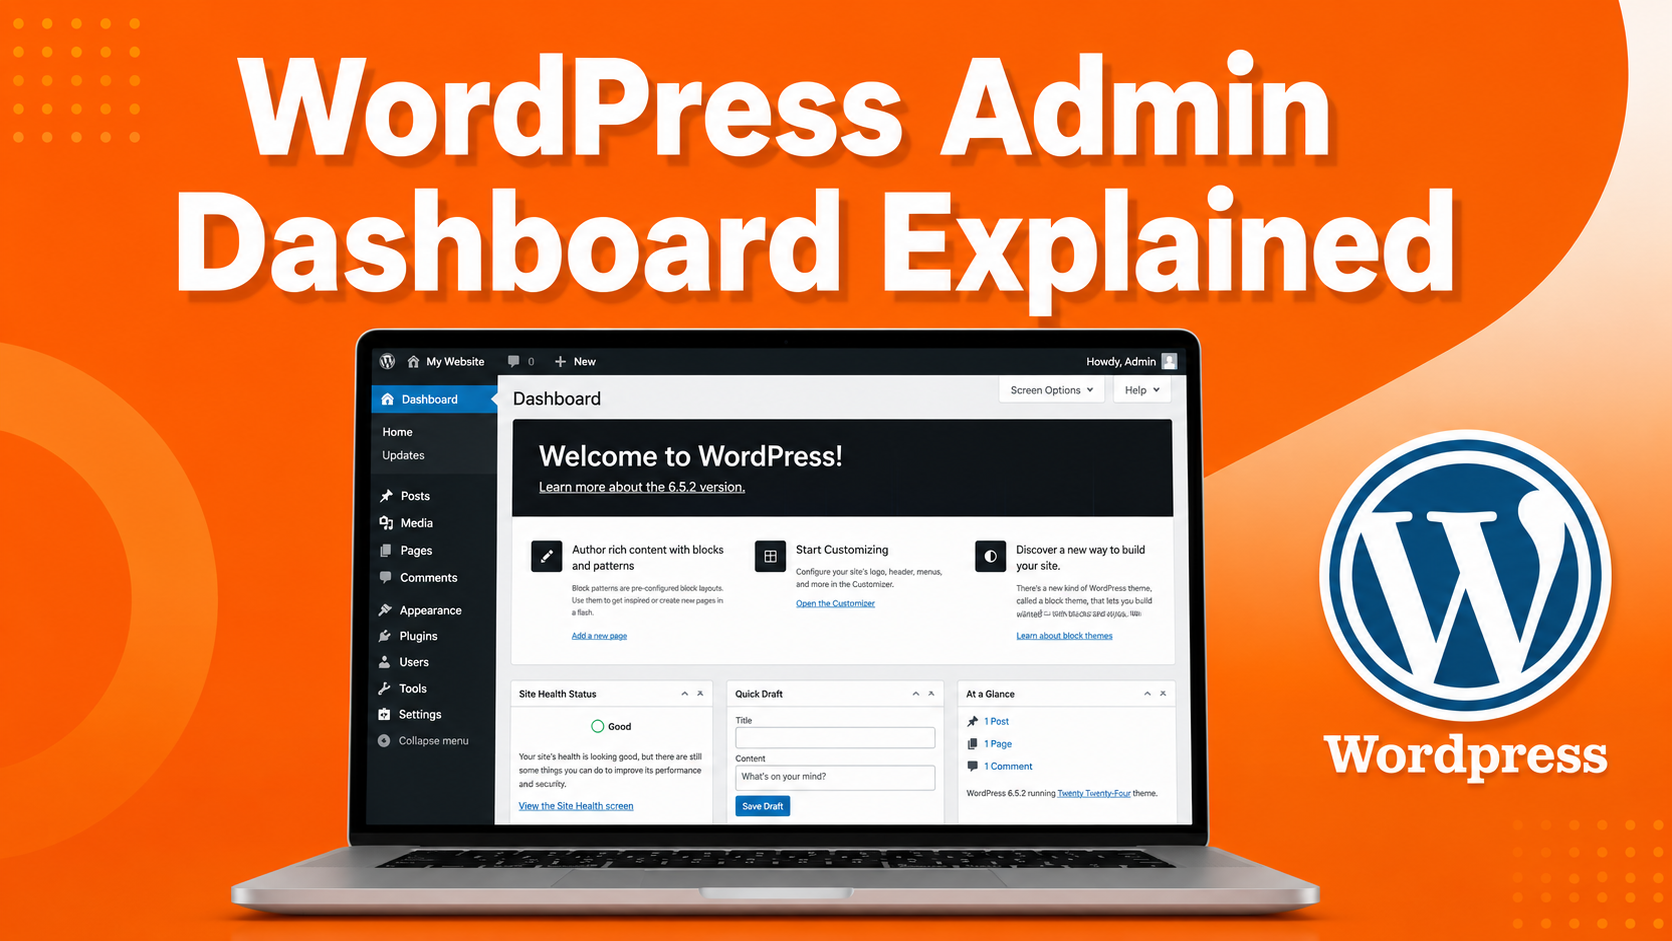
Understanding the WordPress Dashboard Layout
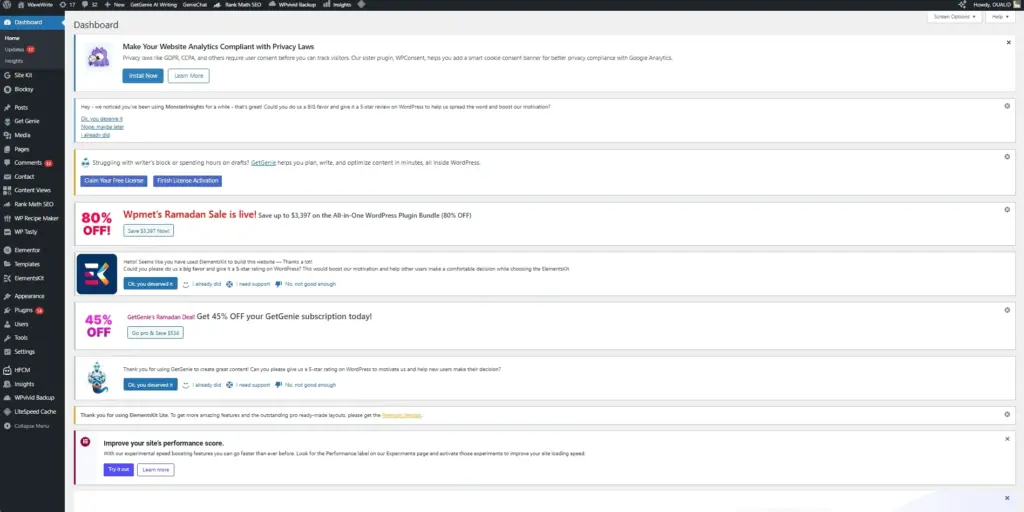
After logging in, you’ll land on the WordPress dashboard home screen.
This screen is divided into two main areas:
| Section | Purpose |
|---|---|
| Left Sidebar Menu | Main navigation for all WordPress features |
| Main Dashboard Area | Overview widgets and quick actions |
The left sidebar is the most important part because it contains every tool you need to manage your website.
Common menu items include:
- Posts
- Media
- Pages
- Comments
- Appearance
- Plugins
- Users
- Tools
- Settings
At the top right corner of the screen, you’ll also see the Screen Options button.
This allows you to customize which dashboard widgets appear on your screen. If the dashboard feels cluttered, you can hide elements you don’t need.
Once you become familiar with these sections, navigating WordPress becomes much easier.
1. Posts – Creating Blog Content
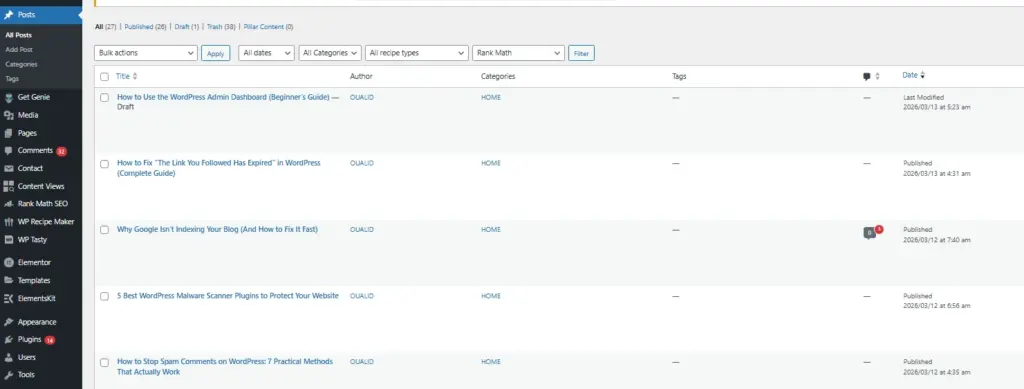
The Posts section is where you create and manage blog articles.
If you plan to run a blog, news website, or content-based site, this area will become one of the most important parts of the dashboard.
To access it:
Dashboard → Posts
Inside the Posts section you can:
- create new blog posts
- edit existing articles
- organize posts into categories
- add tags to content
- schedule posts for publishing later
Creating a New Post
To create a new blog article:
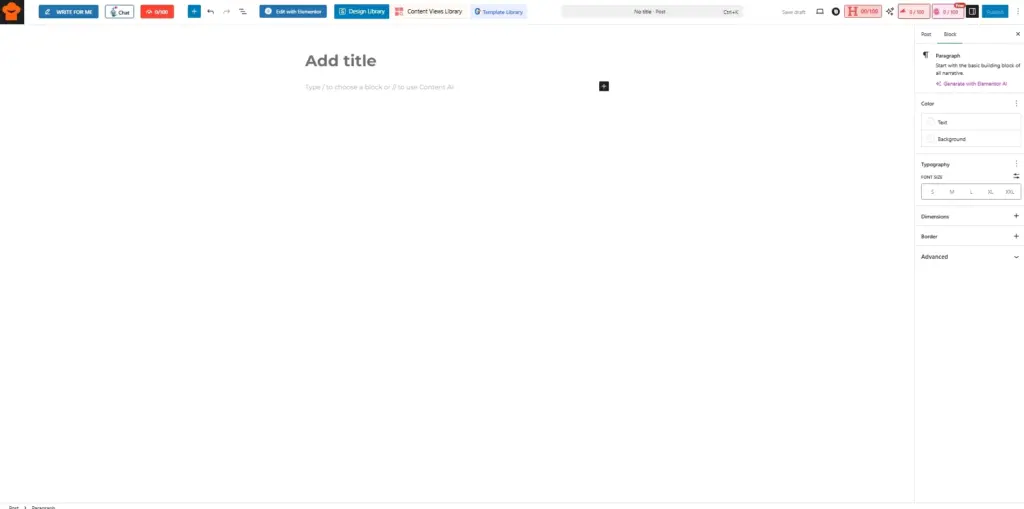
- Click Posts → Add New
- Enter your post title
- Write your content in the editor
- Add categories and tags
- Click Publish
WordPress uses the Block Editor (Gutenberg) by default, which allows you to add different content blocks like:
- paragraphs
- images
- headings
- videos
- buttons
- lists
This editor makes it easy to build structured blog posts without needing coding skills.
2. Media – Managing Images and Files
The Media Library stores all files uploaded to your website.
This includes:
- images
- videos
- PDFs
- audio files
- downloadable documents
You can access it here:
Dashboard → Media
The media library makes it easy to:
- upload new files
- organize images
- reuse media across different posts
- edit image details and alt text
To upload a file:
- Click Media → Add New
- Drag and drop your file
- Or select it from your computer
Images uploaded here can later be inserted into posts or pages without uploading them again.
This helps keep your content organized.
3. Pages – Creating Static Website Pages
Unlike blog posts, Pages are designed for static content that does not change frequently.
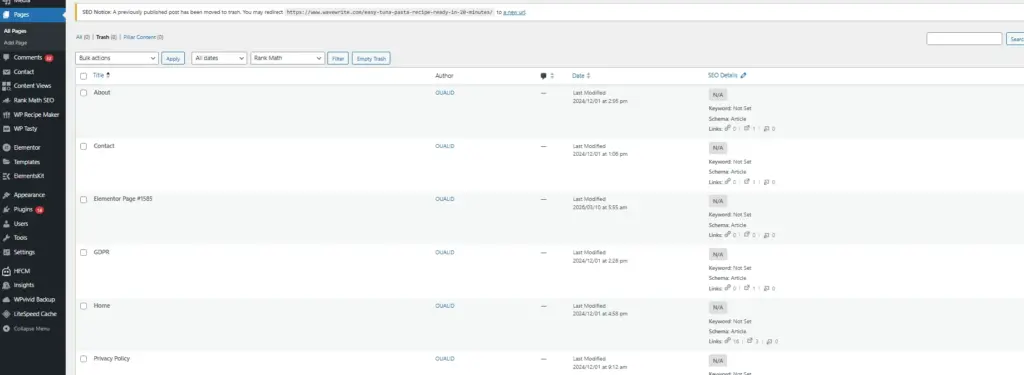
Examples of common WordPress pages include:
- About page
- Contact page
- Privacy policy
- Services page
- Homepage
To manage pages:
Dashboard → Pages
Pages are usually used for important site information rather than ongoing blog content.
Posts vs Pages
| Feature | Posts | Pages |
|---|---|---|
| Content type | Blog articles | Static pages |
| Organization | Categories & tags | No categories |
| Publishing frequency | Regular updates | Rare updates |
If you want more design flexibility, many website owners use page builder plugins like Elementor or Beaver Builder.
These tools allow you to design custom layouts using drag-and-drop tools instead of code.
4. Comments – Managing Visitor Feedback
The Comments section allows you to manage feedback left by visitors on your blog posts.
You can access it here:
Dashboard → Comments
From this section you can:
- approve comments
- reply to visitors
- mark spam comments
- delete inappropriate messages
Moderating comments is important because spam comments can harm your site’s credibility and SEO.
WordPress also allows you to configure comment moderation rules inside the Discussion Settings.
For example, you can require manual approval before comments appear on your site.
5. Appearance – Customizing Your Website Design
The Appearance section controls the visual design of your website.
Here you can:
- install WordPress themes
- customize colors and fonts
- create navigation menus
- manage widgets
To access these options:
Dashboard → Appearance
Key features inside Appearance include:
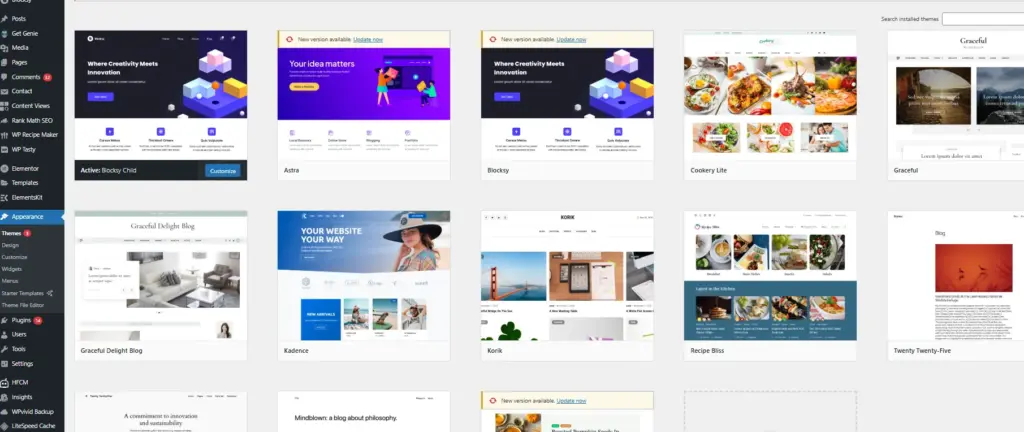
Themes
Themes control how your website looks.
A theme defines elements like:
- layout
- typography
- colors
- page structure
You can install themes from the WordPress Theme Directory or upload premium themes purchased from marketplaces.
Customize
The Customizer allows you to modify design settings in real time.
You can adjust:
- site logo
- site colors
- typography
- header layout
- homepage settings
Menus
Menus control your website navigation.
You can create menus for:
- the main navigation bar
- footer links
- sidebar navigation
Widgets
Widgets allow you to add extra features to your site’s sidebar or footer, such as:
- recent posts
- search bars
- categories
- social media links
6. Plugins – Adding New Features
Plugins extend the functionality of WordPress.

You can think of plugins as apps for your website.
With plugins, you can add features such as:
- contact forms
- SEO tools
- security protection
- page builders
- speed optimization
- eCommerce stores
To install a plugin:
- Go to Plugins → Add New
- Search for the plugin
- Click Install Now
- Click Activate
There are thousands of free plugins available in the official WordPress plugin directory.
However, always install plugins from trusted developers to avoid security issues.
7. Users – Managing Website Accounts
The Users section allows you to manage people who have access to your website.
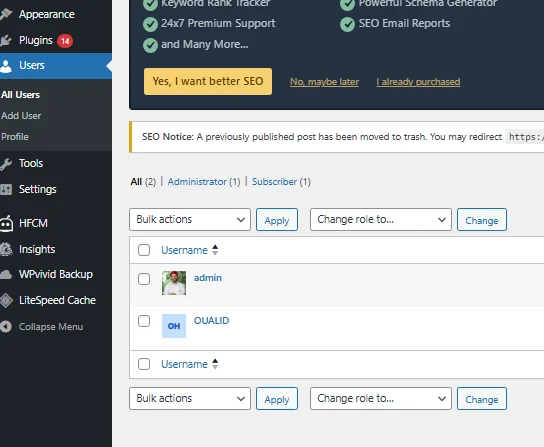
You can create multiple accounts with different permission levels.
WordPress user roles include:
| Role | Permissions |
|---|---|
| Administrator | Full control over the site |
| Editor | Manage posts and pages |
| Author | Publish and edit their own posts |
| Contributor | Write posts but cannot publish |
| Subscriber | Basic profile access |
If you run a multi-author blog, assigning roles helps maintain control over what each user can do.
Security Tip
Avoid using “admin” as your username because it makes your site easier to target for hacking attempts.
Use strong passwords and enable two-factor authentication when possible.
8. Tools – Website Maintenance Utilities
The Tools section contains utilities for managing website data.
Some useful features include:
Import and Export
These tools allow you to move content between websites.
You can export:
- posts
- pages
- comments
- media
This is helpful when migrating a website or backing up content.
Site Health
WordPress also includes a Site Health tool that checks your website for performance or configuration issues.
It analyzes areas like:
- PHP version
- plugin conflicts
- security recommendations
- server configuration
Fixing issues reported by Site Health can improve site stability and performance.
9. Settings – Controlling Website Configuration
The Settings menu contains important configuration options for your website.
Here you can control how your site behaves.
Key sections include:
General Settings
Manage core website information such as:
- site title
- tagline
- website URL
- timezone
- date format
Writing Settings
Configure default settings for creating posts.
Reading Settings
Control how your homepage displays content.
You can choose between:
- latest blog posts
- a static homepage
Discussion Settings
Manage comment settings such as:
- enabling comments
- moderation rules
- spam protection
Media Settings
Configure image sizes generated by WordPress.
Permalinks
Permalinks control your URL structure, which affects SEO.
The recommended structure for most sites is:
Post Name
This creates clean URLs like:
yourdomain.com/wordpress-dashboard-guide
Final Thoughts
The WordPress admin dashboard may feel overwhelming at first, but it becomes much easier once you understand how each section works.
To recap, the most important dashboard areas for beginners are:
- Posts – create blog content
- Pages – build static website pages
- Media – manage images and files
- Appearance – customize your site design
- Plugins – add new features
- Settings – configure how your website works
Once you spend some time exploring the dashboard, you’ll realize that WordPress is actually one of the most flexible and beginner-friendly website platforms available.
Start by creating a few posts, experimenting with themes, and installing useful plugins. With a little practice, you’ll quickly feel comfortable managing your entire website from the WordPress dashboard.