
Follow Me On Social Media!



Okay so here’s the thing — if you’ve ever made a change to your live WordPress site and immediately thought “oh no, what did I just do” — this guide is for you.
Setting up WordPress locally on your own computer is basically like having a secret testing lab where nothing you break actually matters. Messed up the homepage? Who cares. Installed a sketchy plugin that exploded everything? Reset it and try again. No visitors, no clients, no panic. Just you, your laptop, and the freedom to experiment like a mad scientist.
And the best part? It’s way easier than it sounds. Promise.
Here’s what we’re covering today:
- ✅ Installing WordPress locally with XAMPP — perfect if you’re just getting started
- ✅ Cooler alternatives like DDEV and Lando — for when you’re ready to graduate
- ✅ The annoying errors that always seem to pop up — and how to squash them
- ✅ Moving everything to a real live server when you’re done tinkering
Alright, let’s do this.
First Things First — Why Should You Even Bother?
Fair question. Here’s the short version:
| Benefit | What It Actually Means |
|---|---|
| 🔒 Safe testing environment | Break stuff freely — your live site stays perfect |
| 📶 Works totally offline | Code at 30,000 feet, in a café, in a cabin in the woods |
| ⚡ Ridiculously fast | No server lag — your machine handles everything instantly |
| 🧪 Great for debugging | Test wild ideas with zero consequences |
| 💸 Completely free | No hosting plan needed while you’re still building |
| 🚀 Launch-ready confidence | Iron out every bug before going live |
Honestly, once you try local development, going back to editing a live site feels like defusing a bomb every time you click “save.” Not worth it.
So Which Tool Should You Actually Use?
There are a bunch of ways to run WordPress locally — here’s a quick cheat sheet so you can pick without spending an hour Googling:
| Tool | Best For | Difficulty | Docker-based | Free? |
|---|---|---|---|---|
| XAMPP | Beginners, simple projects | Easy 😊 | ❌ | ✅ Yes |
| DDEV | Professional devs | Medium 🤔 | ✅ | ✅ Yes |
| Lando | Flexible setups, Pantheon fans | Medium 🤔 | ✅ | ✅ Yes |
| Docksal | Teams, CI/CD workflows | Medium-Hard 😅 | ✅ | ✅ Yes |
| LocalWP | WordPress-only, zero fuss | Easy 😊 | ❌ | ✅ Yes |
We’re going with XAMPP for this walkthrough — it’s the most beginner-friendly and gets you up and running the fastest. We’ll chat about the other options a bit later if you want to level up.
How to Install WordPress Locally With XAMPP
Think of XAMPP as a little package that turns your computer into a mini web server. It bundles together Apache (the server), MySQL (the database), and PHP (the language WordPress speaks) — everything WordPress needs to actually function.
Let’s go step by step.
Step 1: Download and Install XAMPP
Pop over to the official Apache Friends website and download the version that matches your operating system — Windows, macOS, or Linux. When picking a PHP version, go with PHP 8.0 or higher — that’s what WordPress recommends these days.
Run the installer, click through the prompts, and make sure all components are selected — especially Apache, MySQL, and PHP. The default install folder is totally fine; you don’t need to overthink it.
Once the installation’s done, the XAMPP control panel will open automatically. This little dashboard is going to be your home base from here on out. Get comfortable with it.
Step 2: Fire Up Apache and MySQL
In the XAMPP control panel, you’ll see a list of services. Find Apache and MySQL and hit the Start button next to each one. Once they’re running, their status lights will turn green — very satisfying, honestly.
⚠️ Getting a port conflict error? Apache refusing to start is almost always because something else on your computer has already claimed port 80 or 443. Skype is a notorious culprit, just FYI. To fix it: click Config next to Apache, open
httpd.conf, find the line that saysListen 80, and change it toListen 8080. Save, restart Apache, done.
Once Apache is running, open your browser and head to http://localhost. If you see the XAMPP welcome screen — you’re golden. To double-check MySQL, click Admin next to it in the control panel. That’ll open phpMyAdmin, the database management interface.
Step 3: Create a Database for WordPress
WordPress needs somewhere to store all its stuff — your posts, pages, settings, user accounts, literally everything. That somewhere is a MySQL database. Here’s how to create one in about 30 seconds:
- Go to
http://localhost/phpmyadminin your browser - Click the Databases tab at the top
- Give your database a name — something like
wordpress_localworks great - Set the collation to utf8mb4_general_ci (this handles special characters and multilingual content)
- Hit Create
Done! It’ll show up in the left sidebar. Now jot down these default credentials somewhere — you’ll need them in a minute:
| Setting | Value |
|---|---|
| Username | root |
| Password | (just leave this blank) |
| Host | localhost |
Yeah, the password is literally nothing. XAMPP ships that way by default. It’s fine for local development — just don’t do this on a real server, obviously.
Step 4: Download WordPress
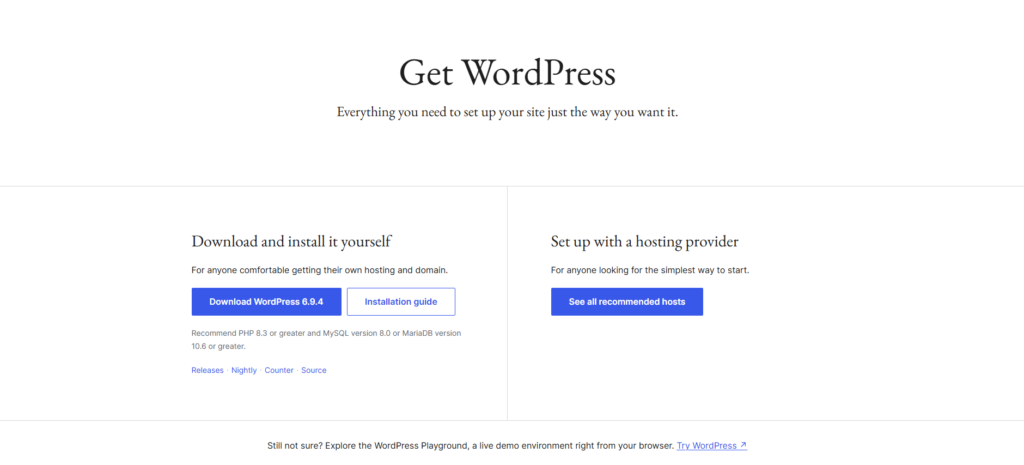
Head to wordpress.org/download and grab the latest version. It downloads as a .zip file.
Unzip it — you’ll get a folder called wordpress. Take that folder and drop it into the htdocs folder in your XAMPP installation directory. That’s the special folder where XAMPP looks for local websites.
Here’s a fun little quirk: whatever you name this folder becomes your local site’s URL. So if you rename it my-test-site, your site lives at http://localhost/my-test-site. Name it something you’ll actually remember.
Step 5: Run the WordPress Installer + Set Up wp-config.php
Open your browser and go to http://localhost/your-folder-name. The WordPress installation wizard should appear — if it does, you’re on the right track.
Pick your language, then fill in the basics:
- Your site name
- An admin username (not “admin” — please, for your own safety)
- A strong password
- Your email address
Click Install WordPress and let it do its thing.
Now, while that’s happening (or after), let’s make sure WordPress can actually talk to the database you created. Find the wp-config.php file in your WordPress folder and open it in a text editor — VS Code is free and excellent for this. Look for these lines:
define( 'DB_NAME', 'database_name_here' );
define( 'DB_USER', 'username_here' );
define( 'DB_PASSWORD', 'password_here' );
define( 'DB_HOST', 'localhost' );
Replace the placeholder text with your actual details:
| Setting | What to Put |
|---|---|
DB_NAME | wordpress_local (or whatever you named your database) |
DB_USER | root |
DB_PASSWORD | (leave completely blank) |
DB_HOST | localhost |
Save the file. That’s it — WordPress is now connected to your database. Pretty satisfying moment, that one.
Step 6: Test the Whole Thing
Go to http://localhost/your-folder-name — your brand new local WordPress site should load right up. 🎉
To log into the admin dashboard, go to http://localhost/your-folder-name/wp-admin and use the credentials you just set up.
Now do a quick checklist to make sure everything’s actually working:
- ✅ Appearance → Themes — activate a different theme and see if it applies
- ✅ Plugins → Add New — install any plugin and make sure it works
- ✅ Write a test post, publish it, and view it on the front end
If all of that works without drama — congratulations, you’ve officially got a local WordPress environment! You’re now free to experiment, break things, fix them, and build stuff without a single visitor being affected.
If something’s not working — don’t stress. The troubleshooting section below has got you.
XAMPP Is Fine, But These Alternatives Are Pretty Great Too
XAMPP gets the job done, but it’s been around for a while and shows its age a bit. If you ever want to upgrade your setup, here’s what the cool kids are using:
🐳 DDEV
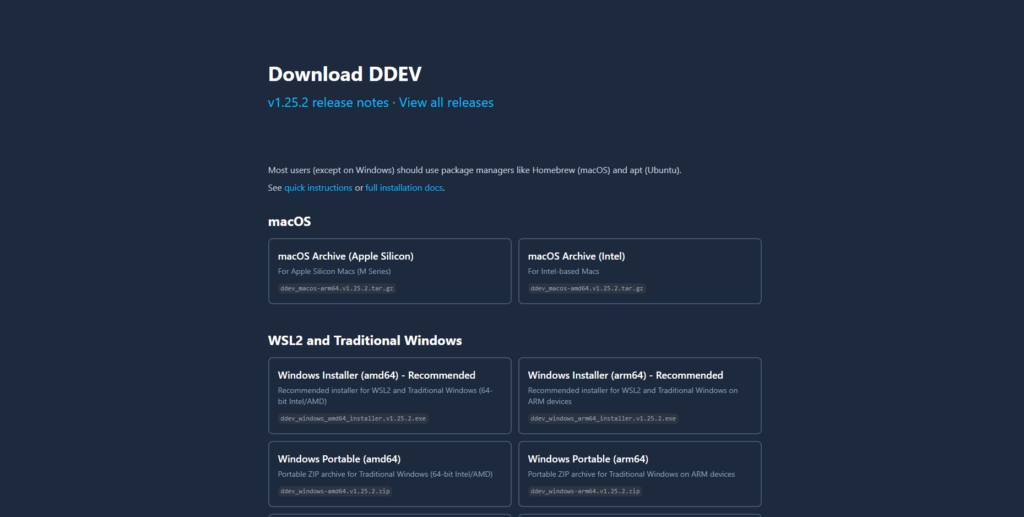
DDEV runs on Docker and does a really impressive job of making your local environment feel like an actual production server — HTTPS support included. It comes pre-configured for WordPress, which means less setup headache. Once you’re comfortable with Docker, DDEV is genuinely a pleasure to use.
Perfect for: Devs who want zero surprises when they deploy to a live server.
🌊 Lando

Lando is kind of like Docker with training wheels — in the best possible way. It has pre-built “recipes” for WordPress so you can go from zero to running site in just a few minutes. It also integrates directly with Pantheon, which makes deploying your site almost boringly easy.
Perfect for: Developers who want flexibility without wrestling with Docker config files at 11pm.
🦦 Docksal
Docksal is built with teams in mind. Everyone on the team gets the exact same environment, which eliminates the classic “well it works on my machine” conversation. It also plugs into CI/CD pipelines nicely if your team is into automated deployments.
Perfect for: Dev teams who need consistency across multiple machines.
🏠 LocalWP
LocalWP (formerly Local by Flywheel) is hands-down the simplest option on this list. It’s a proper app with a clean interface — no Docker, no config files, no command line required. It’s not the most flexible tool out there, but if you just want to spin up a WordPress site fast and get to work, nothing beats it.
Perfect for: Non-developers, designers, and honestly anyone who just wants things to work without a tutorial.
When Things Go Wrong — And They Will, Eventually
No shame in it. Local WordPress setups have a few classic failure modes. Here’s the quick-reference guide:
| Problem | What’s Probably Happening | How to Fix It |
|---|---|---|
| Apache or MySQL won’t start | Port 80 or 443 is taken by another app | Switch Apache to port 8080 in httpd.conf |
| Can’t open phpMyAdmin | Your IP isn’t on the allowed list | Add 127.0.0.1 to allowed IPs in config.inc.php |
| “Error establishing a database connection” | wp-config.php credentials are off | Re-check your DB name, username, password, and host |
| Pages showing 404 errors | Permalinks need a refresh | Go to Settings → Permalinks and click Save (no changes needed) |
| Site loading like it’s 2003 | Background apps, or low PHP memory | Bump memory_limit to 256M in your php.ini file |
| White screen of death | PHP error or a plugin/theme gone rogue | Turn on debug mode (see below) |
The White Screen of Death Fix
If your site just shows a blank white page, add this to your wp-config.php:
define( 'WP_DEBUG', true );
define( 'WP_DEBUG_LOG', true );
define( 'WP_DEBUG_DISPLAY', false );
Then check wp-content/debug.log — it’ll tell you exactly what went wrong. Once you’ve sorted the issue, remember to turn debug mode off before you ever go live. Error messages visible to the public are… not ideal.
Moving Your Local Site to a Live Server
Eventually your local masterpiece needs to meet the real world. Here’s the basic game plan:
- Export your database from phpMyAdmin and import it into your live hosting account’s database
- Update wp-config.php with your live server’s database credentials
- Update all the URLs — your local URLs (like
http://localhost/my-site) need to become your real domain. The Better Search Replace plugin handles this brilliantly and it’s free - Test everything on the live server before you tell anyone about it
If you’re on a managed hosting platform like Pantheon or WP Engine, they’ve got built-in push/pull tools that make this migration process much less of an ordeal. Highly recommend looking into those if you’re doing this regularly.
Everything You Need — Quick Reference
Here’s a tidy list of all the tools and links from this guide:
| Tool / Resource | What It’s For | Link |
|---|---|---|
| XAMPP | Local server environment | apachefriends.org |
| WordPress | The CMS itself | wordpress.org/download |
| DDEV | Pro-level Docker local dev | ddev.com |
| Lando | Flexible Docker local dev | lando.dev |
| Docksal | Team-focused local dev | docksal.io |
| LocalWP | Easiest WordPress local setup | localwp.com |
| VS Code | Free code editor | code.visualstudio.com |
| phpMyAdmin | Database management (built into XAMPP) | http://localhost/phpmyadmin |
| Better Search Replace | URL updates during migration | wordpress.org/plugins/better-search-replace |
| Pantheon | Managed WordPress hosting | pantheon.io |
| WP Engine | Managed WordPress hosting | wpengine.com |
Wrapping Up
Look, local WordPress development sounds scarier than it actually is. Once you get through the first setup, the whole process takes maybe 15 minutes next time — and the peace of mind it gives you is absolutely worth it.
Start with XAMPP, get comfortable, and when you’re ready to play with the big kids, check out DDEV or LocalWP. And when it’s finally time to go live, don’t rush it — export carefully, test thoroughly, and then pop the champagne. 🥂
Ran into something weird along the way? Drop it in the comments — there’s a good chance someone else has hit the same wall and we can figure it out together.