
Follow Me On Social Media!




Quick Wins Before We Dive In:
- Cloudflare Pages is genuinely, actually, no-strings-attached free — and it’s backed by 320+ servers worldwide.
- WordPress won’t run on it natively (more on that in a sec), but there’s a pretty slick workaround.
- Two free tools — Local WP and Simply Static — are all you need to make it happen.
- You’ll lose some dynamic features, but honestly? For most sites, you won’t even miss them.
- The one annoying bit: every update is a manual process. Small price to pay for $0/month hosting.
Table of Contents
So… Why Bother With All This?
Let’s be real — hosting costs are kind of a scam when you’re just starting out. You’re paying $10, $15, maybe $30 a month for a server that’s probably sitting in one data center somewhere in Ohio, and your visitors on the other side of the world are just… waiting.
Here’s what I stumbled onto: Cloudflare Pages. It’s free hosting that runs on Cloudflare’s insane global network — over 320 server locations around the world. That means when someone in Tokyo visits your site, they’re not pinging a server in Ohio. They’re getting your files from somewhere nearby. It’s genuinely fast.
The catch? Cloudflare Pages only serves static files — plain HTML, CSS, and JavaScript. And WordPress? It’s a dynamic beast that needs PHP and a database to function. So you can’t just drag-and-drop your WordPress site in there and call it a day.
BUT — and this is the fun part — you can convert your WordPress site into static HTML using a couple of free tools, then upload that to Cloudflare Pages. It’s a bit of a workaround, sure, but it works beautifully and costs you exactly nothing.
Let me walk you through the whole thing.
First, What Even Is Cloudflare Pages?
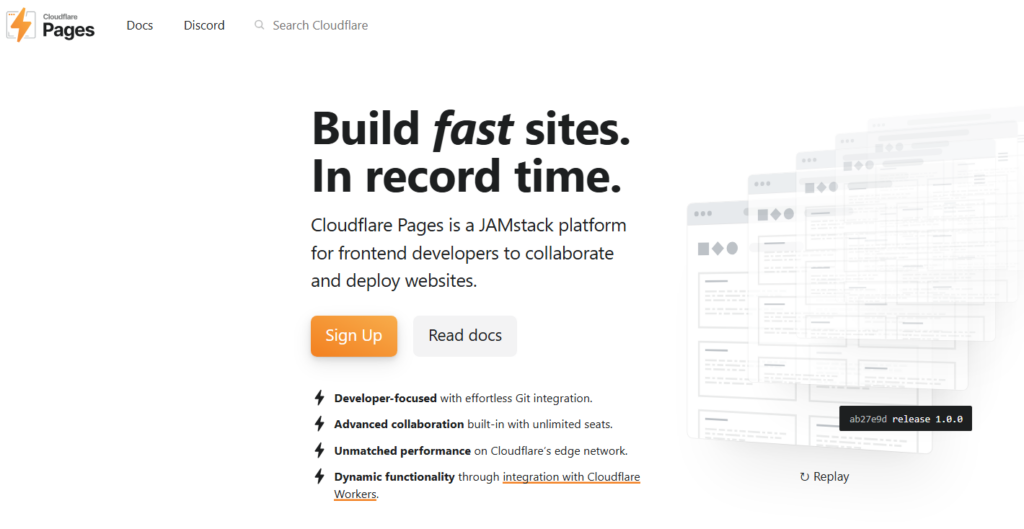
Think of it as free hosting for websites that don’t need a server to “think” — sites that are just files sitting there waiting to be read. Cloudflare takes those files and copies them to hundreds of locations worldwide so your site loads fast for everyone, everywhere.
Here’s what the free plan gets you (and yes, this is genuinely free, not “free with an asterisk”):
| Feature | What You Get |
|---|---|
| Cost | $0/month, forever |
| Deployments | Unlimited |
| Bandwidth | Unlimited |
| Custom Domain | Yep |
| Global CDN | 320+ locations |
| SSL/HTTPS | Auto, no setup needed |
| DNS Management | Full control |
Compared to regular shared hosting, it’s not even close on performance:
| Cloudflare Pages (Free) | Shared Hosting (Paid) | |
|---|---|---|
| Monthly Cost | $0 | $5–$30 |
| Server Locations | 320+ globally | 1–5 regions |
| Speed | Very fast, edge-delivered | Depends on your luck |
| PHP Support | ❌ Nope | ✅ Yes |
| Dynamic Features | ❌ Nope | ✅ Yes |
| SSL | ✅ Free & automatic | Sometimes, sorta |
| Scalability | ✅ Built-in | Ehh |
The only real downsides are that PHP and dynamic features don’t work — which is exactly why we need the workaround below.
The WordPress Problem (And the Workaround That Fixes It)
Here’s the thing about WordPress: every time someone visits a page, WordPress fires up PHP, pokes its database, assembles your page on the fly, and sends it to the browser. It’s a whole process happening behind the scenes every single time.
Cloudflare Pages can’t do any of that. It just serves files. No PHP, no database queries, no dynamic anything.
So what we do is essentially take a “screenshot” of our entire WordPress site — every page, every post — and save them all as regular HTML files. Then we upload those files to Cloudflare Pages. Visitors get the exact same experience, but there’s no server doing anything fancy. It’s just files.
This is way better than tools like Webflow, by the way, which will let you build a site but then charge you $23+/month just to export the code. We’re doing the whole thing for free.
What’ll work great, and what won’t:
Totally fine on static hosting:
- Blog posts and articles
- Landing pages and portfolios
- Business info pages
- Image galleries and embedded videos
- Third-party widgets (Google Forms, Calendly — anything hosted elsewhere)
Won’t work at all:
- WordPress contact forms (WPForms, Contact Form 7, etc.)
- WooCommerce / any online store stuff
- Member login systems
- WordPress’s built-in search
Don’t panic about the forms thing — there’s a neat hack for that later.
Step 1: Get WordPress Running on Your Computer with Local WP
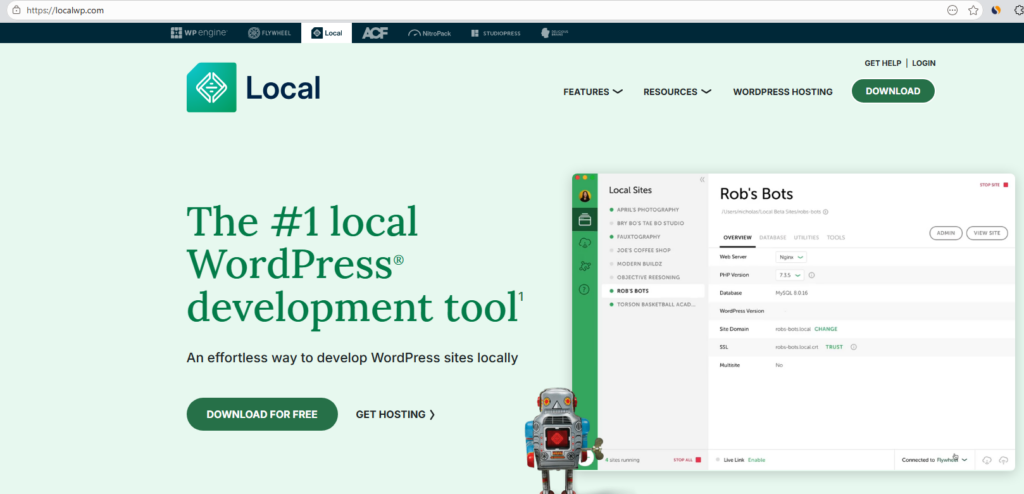
Local WP is a free app that basically turns your laptop into a mini web server. You get a fully working WordPress site running locally — no internet, no monthly bill, no nothing. It’s surprisingly easy to set up.
- Head to localwp.com and grab the free download for Mac, Windows, or Linux.
- Install it and open it up.
- Hit “+ Create a new site” and give it a name (only you’ll see this).
- Pick “Preferred” settings — Local WP handles all the technical stuff automatically.
- Set a username and password for your WordPress login.
Quick tip: Yeah, this site is only on your computer and nobody else can access it — but still use a real password. Good habits and all that.
- Click “Add Site” and wait about 30 seconds.
- Click “WP Admin” to open your WordPress dashboard.
That’s it! You’ve got a fully functional WordPress site living on your computer. No hosting bill. Wild, right?
Maybe this Article can help you : How to Run WordPress on Localhost (Fast & Simple Method) – WaveWrite
Step 2: Build Your Site and Get Ready to Export
Now just build your site like you normally would — pick a theme, create your pages, write your posts, add images. All the usual stuff.
Just keep in mind what won’t survive the export:
- Any WordPress form plugins (they need PHP to process submissions)
- WooCommerce (cart + checkout = all dynamic, all broken)
- WordPress search
- Login pages or member areas
Build around those limitations and you’ll be totally fine. It’s mostly a “content site” situation — which, honestly, is what most personal sites and blogs are anyway.
Installing Simply Static (This is the Magic Part)
Simply Static is a free plugin that crawls your entire WordPress site and spits it all out as plain HTML files. It’s genuinely impressive how well it works.
- In your WordPress dashboard, go to Plugins → Add New.
- Search “Simply Static”, install it, and activate it.
- Go to Simply Static → Settings.
- Under Delivery Method, choose “ZIP Archive”.
- Hit “Save Changes”.
Actually Running the Export
- Go to Simply Static → Generate.
- Click “Generate Static Files” and let it do its thing.
- When it’s done, a Download ZIP button pops up. Grab that file.
Don’t Freak Out About the SSL Warning
You might see an error about SSL certificates during the export. This is totally normal — your local site doesn’t have a real SSL cert because it’s just running on your computer. The warning doesn’t affect your exported files at all. Cloudflare will add real HTTPS automatically once you deploy. Just ignore it and move on.
Step 3: Uploading Your Site to Cloudflare Pages
Full tutorial Video :
If you don’t have a Cloudflare account yet, go make one at cloudflare.com. The free tier covers everything we’re doing here.
- Log into your Cloudflare dashboard.
- In the left sidebar, click Workers & Pages.
- Click “Create” → select the “Pages” tab.
- Click “Upload assets” (this is the easy no-code route — no GitHub needed).
- Name your project — this’ll be your temporary URL, like
yourproject.pages.dev. - Click “Create project”.
- Drag and drop your ZIP file right in — no need to unzip it first, Cloudflare handles that.
- Click “Deploy site”.
Now Just… Wait a Minute
Cloudflare needs a couple of minutes to spread your files across its global network. Usually it’s live within 30 seconds to 2 minutes. If it’s not loading, just wait up to 10 minutes and refresh. Don’t panic and don’t start uploading again — it’s just propagating.
Once it’s live, you’ll have a real, working website at https://yourproject.pages.dev. Free, fast, and already on HTTPS. Pretty satisfying, honestly.
Step 4: Hooking Up Your Own Domain
The .pages.dev URL is fine, but let’s make it look professional with your actual domain name.
- In Cloudflare, go to Workers & Pages and open your project.
- Click the “Custom domains” tab → “Set up a custom domain”.
- Type in your domain (like
yourbusiness.com) and click “Continue”.
Pointing Your Domain Over
If your domain isn’t already with Cloudflare, you’ll need to swap your nameservers at wherever you bought your domain (GoDaddy, Namecheap, wherever). Cloudflare will show you two nameserver addresses — just paste those in at your registrar. It usually takes a few hours, sometimes up to 48.
One Small Thing People Always Forget
Once your domain is connected, add a www record too. Plenty of people still type www.yoursite.com out of pure muscle memory, and without this record, they’ll hit an error.
- In Cloudflare DNS, click “Add record”.
- Type: CNAME, Name:
www, Target:@. - Save it.
Takes 30 seconds and saves some of your visitors from a frustrating dead end.
Updating Your Site (AKA the One Annoying Part)
Here’s the deal: your site is a static snapshot. When you make changes in WordPress, those changes don’t magically appear on Cloudflare. You have to manually re-export and re-upload every time.
The update flow looks like this:
- Open Local WP and fire up your site.
- Make your changes in WordPress.
- Run Simply Static again → download the new ZIP.
- Go to your Cloudflare Pages project → “Create new deployment” → upload the new ZIP.
That’s it. You don’t have to touch DNS, domain settings, or anything else. Just the ZIP upload. It’s a bit tedious if you update constantly, but for a blog or portfolio? You’re probably fine.
The Contact Form Workaround (It’s Actually Pretty Simple)
“But wait — if PHP doesn’t work, how do I get a contact form?”
Great question. The answer: you don’t use WordPress forms at all. Instead, you use a third-party form service that handles everything on their own servers. Your site just displays the form — it doesn’t process anything.
Think of it like embedding a YouTube video. YouTube handles the video; your site just shows it. Same idea here.
How to add a Google Form:
- Build your form at forms.google.com.
- Click Send → click the
<>icon (that’s the embed option). - Copy the iframe code.
- In your WordPress page editor, add an HTML block.
- Paste the iframe in there.
- Save and re-export with Simply Static.
Done! Fully functional contact form, zero server required on your end.
Other free options worth knowing about:
- Tally.so — super clean, very generous free plan, my personal fave
- Wufoo — more powerful, plays nice with WordPress
- Formspree — great for developers, built for static sites
FAQ — The Stuff People Always Ask
Is Cloudflare Pages actually free? Like, for real?
Yes, genuinely. No credit card required for the free tier. Cloudflare’s been offering this since they launched Pages and they’ve publicly committed to keeping the core features free. It’s not a “free trial” situation.
Will my WordPress theme still look right after the export?
Yep! Simply Static exports the actual rendered HTML of your pages, including all the styles from your theme. What you see locally is what visitors will see on Cloudflare.
Does it export my blog posts too?
Yes, all of them — individual posts, category pages, archive pages, the whole thing. Simply Static crawls everything that’s publicly accessible.
What if I write a new blog post?
You’ll need to re-run the export and re-upload the ZIP to Cloudflare. It’s a few extra clicks every time you publish. If that sounds unbearable, this setup might not be the right fit for a high-frequency blog.
Can I use WooCommerce with this?
Short answer: no. WooCommerce needs a live PHP server to manage carts, process payments, and handle orders. It’s fundamentally incompatible with static hosting. If you need a shop, check out paid hosting like DreamHost or Hostinger — both are pretty affordable and support full WordPress.
Is this setup secure?
Actually, static sites are some of the most secure websites out there. There’s no PHP running, no database to hack, and no login page exposed to the internet. Plus Cloudflare adds DDoS protection and automatic HTTPS on top of all that.
So, Is This Right for You?
If you’ve got a blog, portfolio, or business info site, this setup is honestly hard to beat. You get:
- Stupid-fast load times thanks to Cloudflare’s global network
- Real SSL and unlimited bandwidth, for free
- No server costs, ever
- Better security than most paid hosting setups
The trade-offs are real though — you’ll need to manually update every time, and you can’t run anything truly dynamic without a workaround.
This is probably perfect for you if:
- You’re building a blog, portfolio, or info site
- You don’t need a shopping cart or member logins
- You don’t mind a few extra steps for updates
You might want to look at paid hosting if:
- You need WooCommerce or any e-commerce
- You’re posting new content every day and the update process sounds exhausting
- You need a proper login/membership system
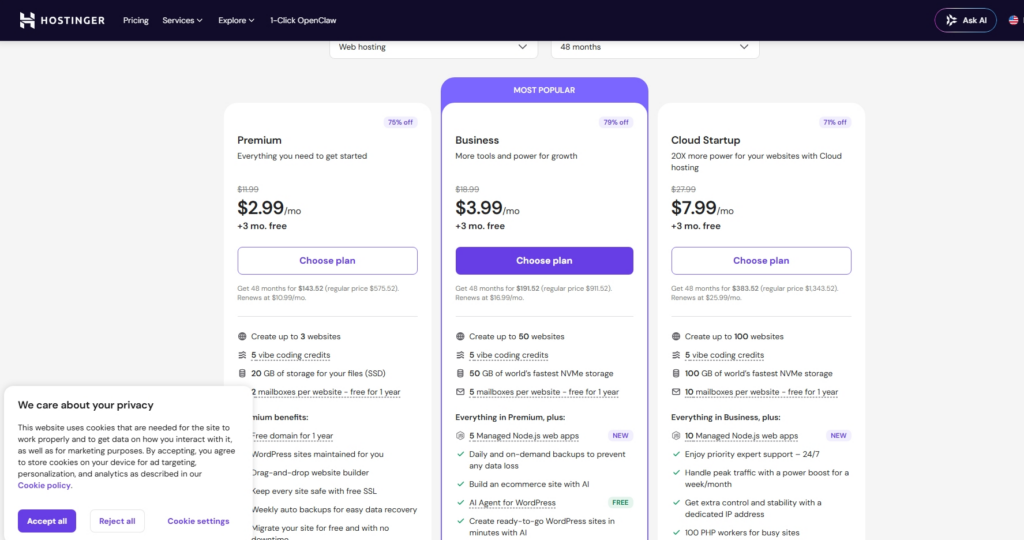
For paid options, DreamHost and Hostinger both start around $3/month and give you a full WordPress environment without any of these workarounds.
Hostinger Coupon Codes & Discounts
- FOLLOW10
- CFPEMAIL10
- CF10
But if free, fast, and “good enough for 90% of websites” sounds appealing to you? Fire up Local WP, build your site, export it, and get it on Cloudflare Pages. Your wallet — and your visitors — will thank you.