Follow Me On Social Media!


Website security is one of the most important aspects of running a WordPress site. Visitors expect their data to be protected, and search engines also prioritize secure websites. One of the easiest ways to improve security is by installing an SSL certificate.
SSL encrypts the connection between your website server and your visitors’ browsers. Once SSL is enabled, your site will use HTTPS instead of HTTP, and a small padlock icon will appear in the browser address bar.
In this guide, you’ll learn how to add SSL to WordPress and configure your website to use HTTPS correctly.
Table of Contents
What Is an SSL Certificate?
An SSL certificate is a digital security certificate that encrypts information exchanged between a visitor’s browser and your website server.
Without SSL, data such as login credentials, payment details, and personal information can potentially be intercepted. With SSL enabled, this information is encrypted and protected.
Benefits of SSL include:
- Improved website security
- Higher trust from visitors
- Better search engine rankings
- Protection for sensitive data
Because of these benefits, modern browsers now warn users when they visit websites that do not use HTTPS.
How to Get an SSL Certificate for WordPress
Before enabling SSL on your WordPress site, you first need to obtain an SSL certificate.
There are several ways to do this depending on your hosting provider.
Option 1: Get SSL Through Your Hosting Provider
Many web hosting companies offer free SSL certificates through services like Let’s Encrypt. This is usually the easiest option because the host handles installation automatically.
Advantages of hosting-provided SSL:
- Easy setup
- Often free
- Automatically renewed
Some hosts also offer premium SSL certificates with additional validation levels for businesses and eCommerce websites.
Option 2: Purchase a Premium SSL Certificate
If you run a business website or online store, you may prefer a paid SSL certificate.
Premium certificates provide additional security verification and often include warranties.
Types of SSL certificates:
| Type | Purpose |
|---|---|
| Domain Validation (DV) | Basic security for personal websites |
| Organization Validation (OV) | Verifies business ownership |
| Extended Validation (EV) | Highest trust level with visible company verification |
Most small websites can operate perfectly with a free SSL certificate.
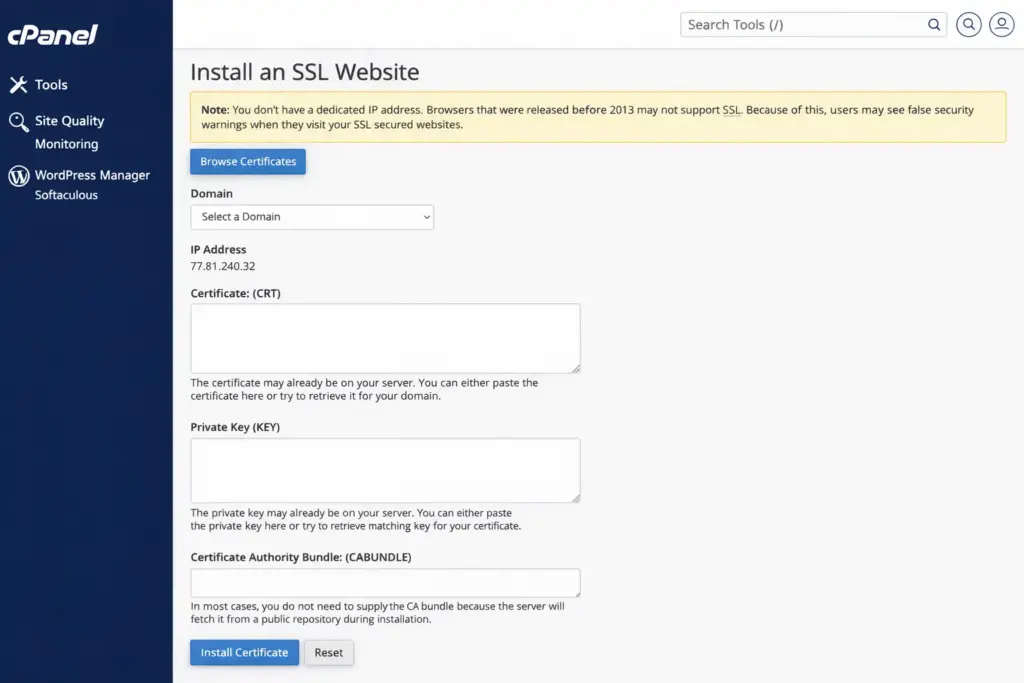
Method 1: Install SSL Through Your Hosting Provider
The easiest way to add SSL to WordPress is through your hosting dashboard.
Most hosts include a one-click SSL activation feature.
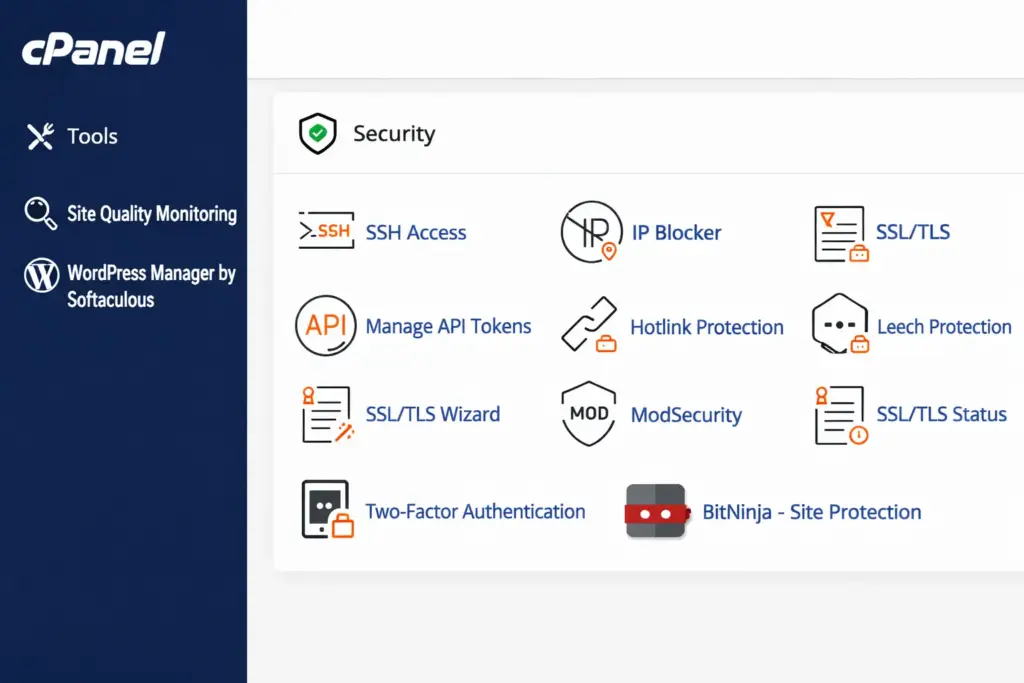
Typical steps include:
- Log in to your hosting control panel
- Locate the SSL or Security section
- Choose your domain name
- Click Activate SSL
After activation, the certificate is automatically installed on your server.
In many cases, the host will also automatically redirect visitors from HTTP to HTTPS.
Method 2: Add SSL to WordPress Using a Plugin
Another simple method is installing an SSL plugin that configures HTTPS automatically.
One commonly used plugin is Really Simple SSL.
How to Install the Plugin
- Go to Plugins → Add New
- Search for Really Simple SSL
- Click Install
- Activate the plugin
The plugin detects your SSL certificate and configures your WordPress site to use HTTPS automatically.
It also fixes common issues such as mixed content errors.
Method 3: Manually Configure SSL in WordPress
Advanced users may prefer configuring SSL manually.
This requires updating the site URL settings and forcing HTTPS.
Update WordPress URLs
Go to:
Settings → General
Change both URLs:
| Setting | Example |
|---|---|
| WordPress Address | https://yourdomain.com |
| Site Address | https://yourdomain.com |
Save the changes.
Force HTTPS Using .htaccess
If your website uses an Apache server, you can add a redirect rule to your .htaccess file.
Example configuration:
RewriteEngine On
RewriteCond %{HTTPS} !=on
RewriteRule ^ https://%{HTTP_HOST}%{REQUEST_URI} [L,R=301]
This automatically redirects all visitors from HTTP to HTTPS.
Fix Common SSL Issues
After enabling SSL, some websites may display mixed content warnings. This happens when some resources still load using HTTP.
Examples include:
- Images
- CSS files
- JavaScript files
To fix this problem, update the URLs of these resources to HTTPS.
You can also use plugins that automatically correct mixed content.
Test Your SSL Installation
After completing the setup, it’s important to confirm that SSL is working correctly.
You can check this by:
- Visiting your website and looking for the padlock icon in the browser
- Using an online SSL checker
- Testing redirects from HTTP to HTTPS
If everything is configured properly, visitors should automatically land on the secure HTTPS version of your site.
Why SSL Matters for WordPress Websites
Installing SSL is not just a technical improvement. It directly affects user trust and search engine visibility.
Search engines favor secure websites, and browsers now warn users about non-secure pages.
SSL provides several important advantages:
| Benefit | Explanation |
|---|---|
| Security | Encrypts sensitive information |
| SEO | HTTPS websites rank better in search engines |
| Trust | Visitors feel safer interacting with your site |
| Compliance | Required for many payment systems |
Because of these benefits, enabling SSL should be one of the first security steps when launching a new WordPress site.
Final Thoughts
Adding SSL to your WordPress website is one of the most effective ways to improve both security and credibility.
The process is simple:
- Obtain an SSL certificate
- Install it through your hosting provider
- Configure WordPress to use HTTPS
- Fix mixed content issues if needed
Once SSL is enabled, your website becomes safer for visitors and better optimized for search engines.